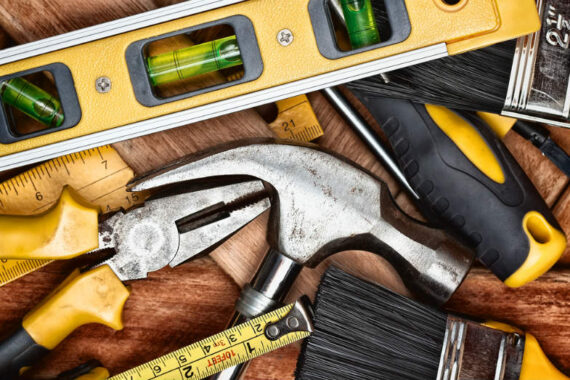
A well-equipped toolbox is a necessity in every home, as it empowers you to perform basic repairs, maintenance, and DIY projects without the need...
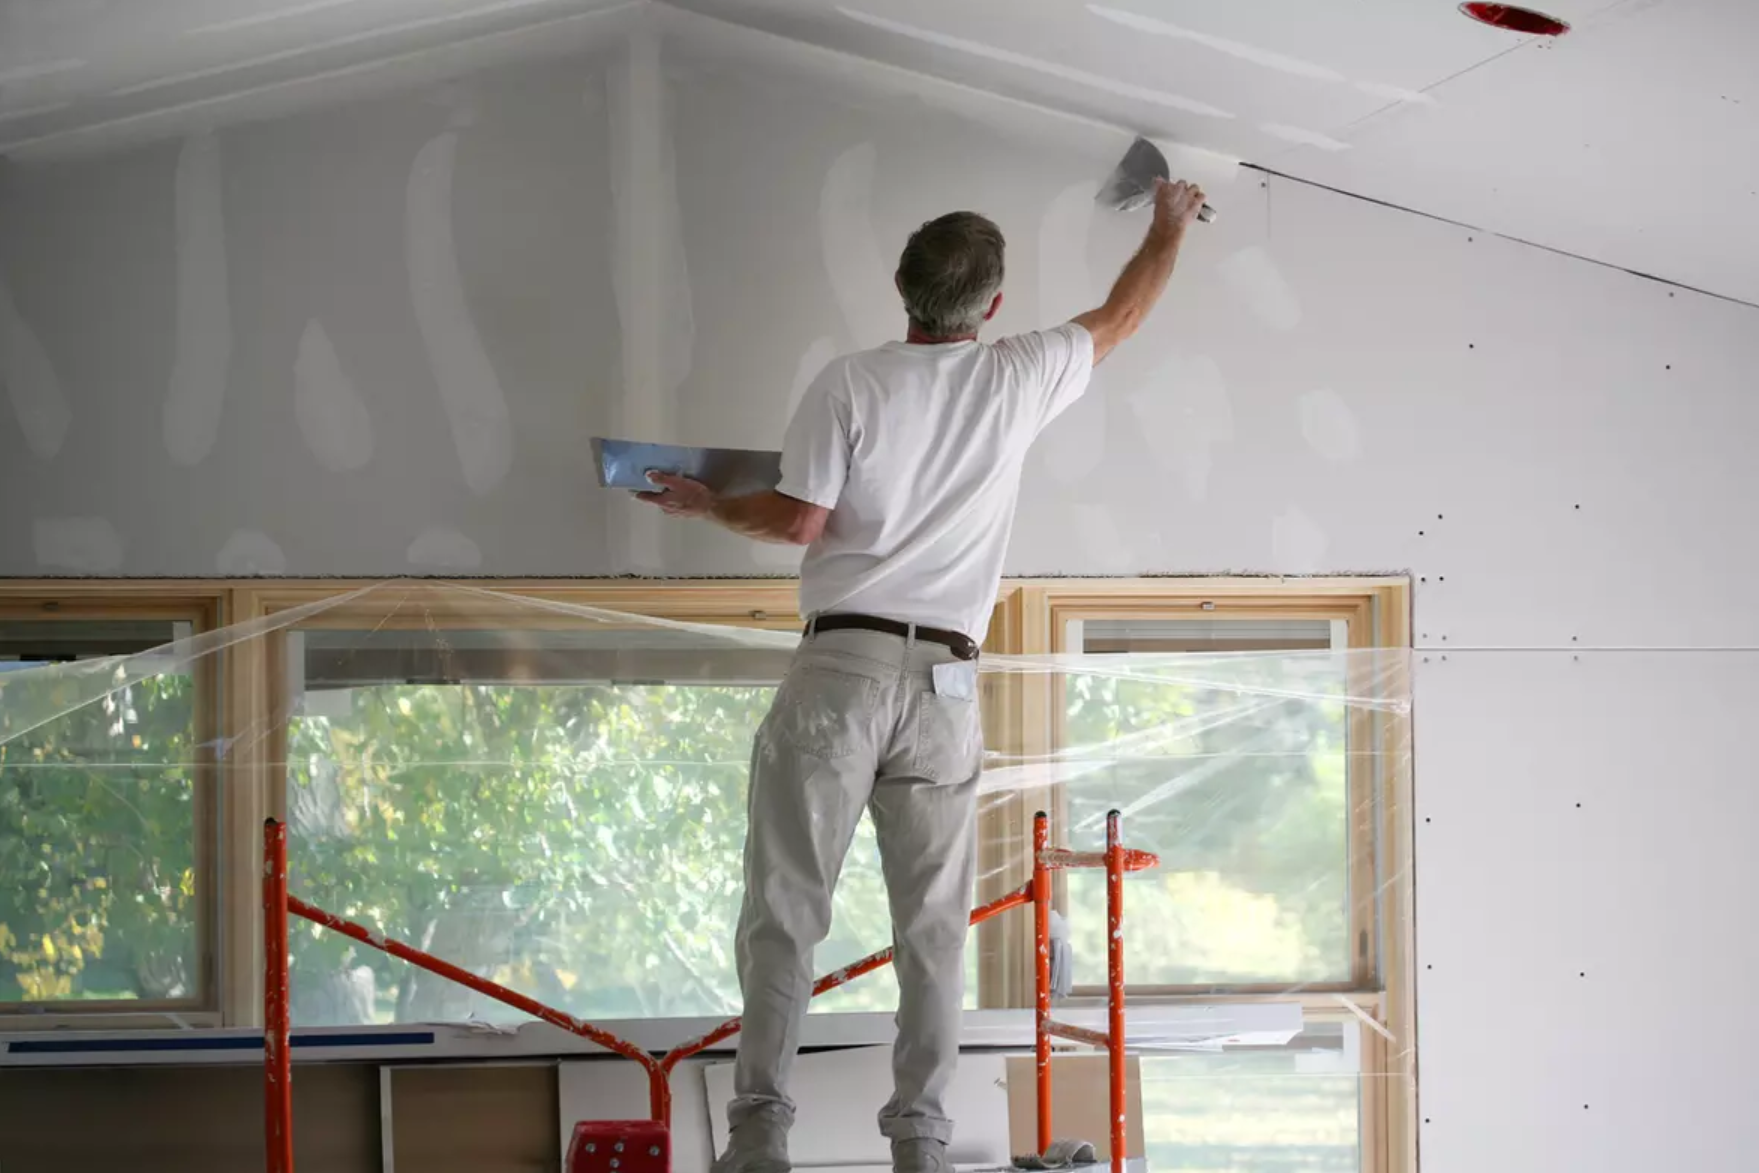
Undertaking a home renovation or construction project often involves installing drywall plasterboard and applying plaster. Also known as gypsum board, drywall is a popular choice for walls and ceilings due to its ease of installation and smooth finish. Plastering adds a protective and decorative layer. This guide provides detailed instructions for fitting drywall plasterboard and plastering, ensuring a professional end result.
Section 1: Tools and Materials Required
Gather the following tools and materials before starting the installation:
- Drywall plasterboard sheets
- Drywall screws
- Screw gun or drill
- Tape measure
- Utility knife
- Straight edge or T-square
- Drywall saw
- Joint compound
- Drywall tape
- Plastering trowel
- Sandpaper or sanding sponge
- Primer and paint (optional)
Section 2: Preparing the Work Area
- Remove any existing wall coverings and inspect the studs or framing to ensure they are in good condition.
- Clean the area to remove any debris.
- If there are any electrical outlets or switches, turn off the power and remove the outlets.
Section 3: Fitting the Drywall Plasterboard
- Measure the installation area and cut the plasterboard sheets to size using a utility knife and straight edge. A typical sheet size is 1200mm x 2400mm.
- Position the plasterboard sheet against the studs so that the edges meet in the center of a stud.
- Use drywall screws to secure the plasterboard to the studs, placing screws every 400mm along the studs and 10mm from the edge of the board.
- Install the remaining plasterboard sheets, ensuring tight butt joints between the edges.
Section 4: Plastering
- Apply a thin layer of joint compound over the seams and screw heads using a plastering trowel.
- Place drywall tape over the seams, pressing it into the joint compound.
- Apply another layer of joint compound over the tape, feathering the edges to blend with the surrounding area.
- Allow the joint compound to dry completely, which may take up to 24 hours, and then lightly sand the surface for a smooth finish.
- Apply a second coat of joint compound, feathering the edges even further.
- Once the second coat is dry, sand the surface again and apply a third coat if necessary.
- After the final coat dries, sand the surface to achieve a smooth finish.
Section 5: Finishing Touches
- If desired, apply a coat of primer to the drywall.
- After the primer dries, paint the drywall in your chosen color.
- Reinstall any electrical outlets or switches.
- Clean up any remaining dust or debris.
Conclusion
Fitting drywall plasterboard and plastering are achievable tasks with the right tools and some patience. Following this step-by-step guide will help you achieve a smooth and professional finish, enhancing the value and appearance of your home.
![]()


